Creating a Sermon Series
Start by opening the Sermons page in the Squarespace back end. Then click the Edit button.
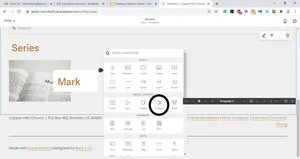
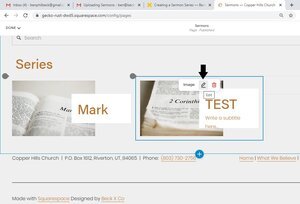
Add a Collage Image block to the series section of your page.
Upload the image used for the new series and add the series title to the title portion of the collage and click apply.
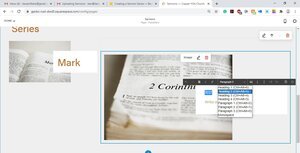
Highlight the title and change the font size from Paragraph 2 to Heading 2
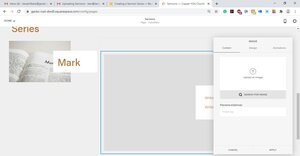
Drag and drop the image block to where you want it placed on the page. Use the spacer block to conform the image size.
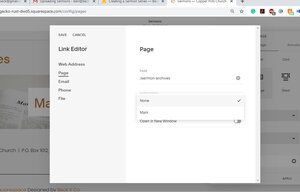
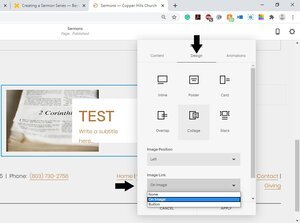
4. Click on the Pencil icon on the image block to add the link to the sermon category.
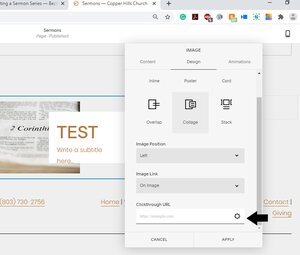
5. Click on the Design tab of the dialog box and click the On Image selection in the drop down menu under Image Link
6. A Clickthrough URL field will appear below the Image Link. Click the Gear icon.
7. Select the Page option and click in the search bar to search for the Sermon Archives blog page and select
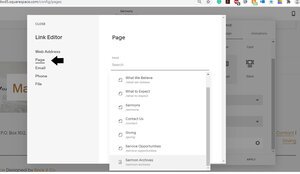
8. Lastly, select which Category you want to filter the link to. Click save then click apply on the image dialog box and lastly save your changes to the page by clicking done. This will make only the sermons in the series category you created on the sermon archive blog post show up once the image is clicked. Note: You have to make a post and add a new category before you create a new sermon link as outlined.